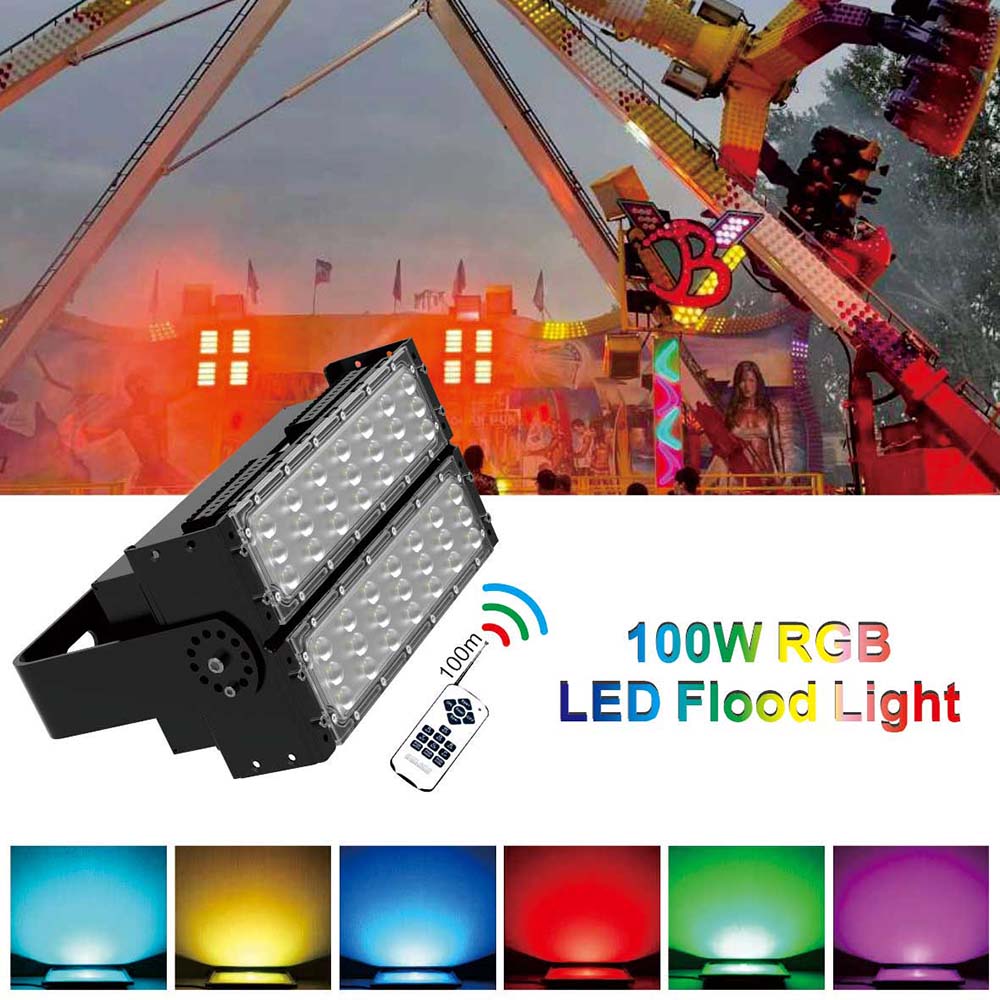
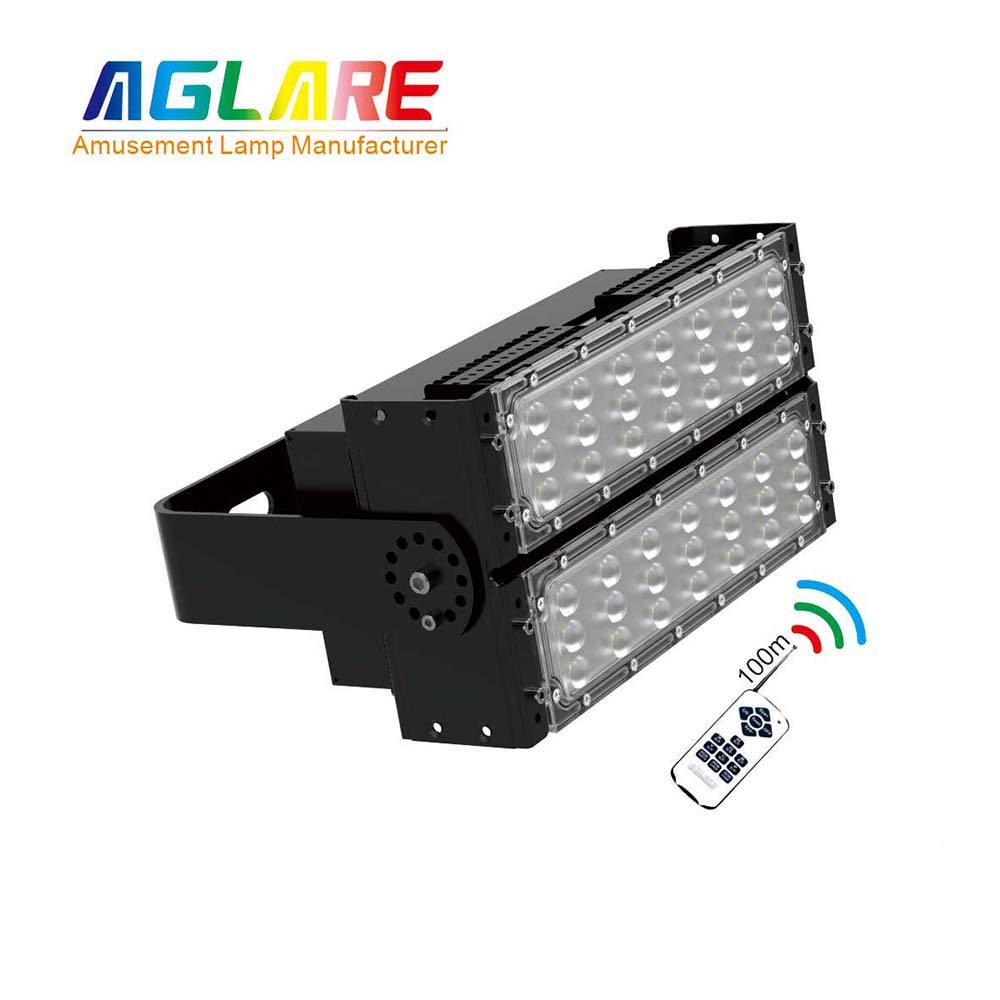
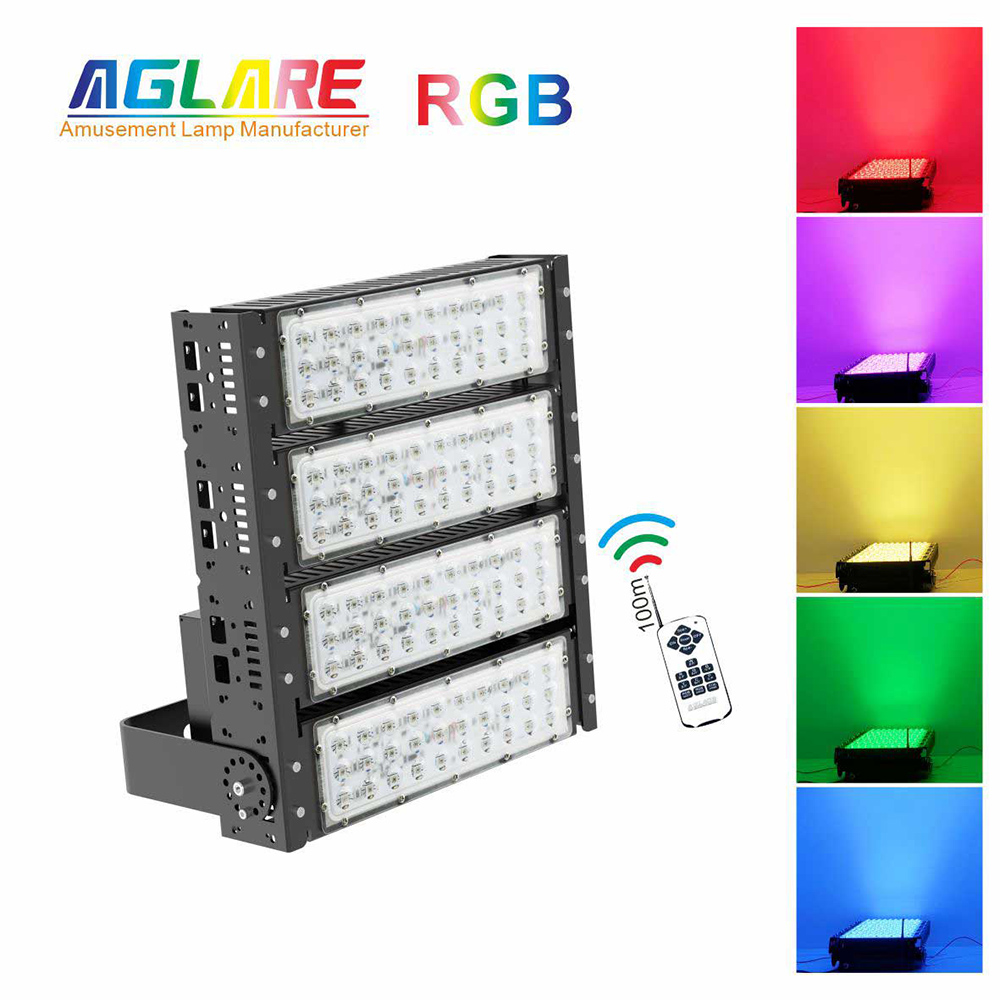
Customers that misuse outdoor RGB floodlights with regional remote controls are something we see all the time. Today, we'll discuss some things to consider while utilizing remote controllers for RGB floodlights.
Why you should choose zone remote controlled outdoor RGB floodlights
The better question is: why not opt for zone remote controlled outdoor RGB floodlights? Regional remote control outdoor floodlights are a commonly used lighting product. They have a wide lighting range and the angle can be adjusted at will, which can bring a better experience to the lighting needs of local occasions. Nowadays, more and more people are beginning to buy outdoor floodlight products based on regional remote control. One of the most important reasons is that the product has a longer service life.
When you choose to use regional remote control outdoor RGB floodlights, it can be seen from comparison that regional remote control outdoor floodlights do not require filament and electrode structures during design, so no manpower and material resources are required for later maintenance. Moreover, remote control outdoor floodlights that do not use this structure are more reliable and the life of the lamps will be increased accordingly. High-quality remote-controlled outdoor floodlights can last up to ten years when used for ten hours a day, and they last longer than traditional incandescent and gas-discharge lamps.
Precautions for regional remote control outdoor RGB floodlights
Instructions for using an RGB floodlight remote control usually include the following steps:
1. Battery installation:
First, make sure the batteries in the remote control have been installed correctly or have sufficient battery power. There is usually a battery cover on the back of the remote control. After opening, insert the battery in the direction of the positive and negative polarities.
2. Switch operation:
Find the power switch on the remote control and turn on the remote control. There is usually an ON/OFF button that can be pressed to turn the remote control on or off.
3. Mode selection:
RGB floodlights usually have multiple color modes, and there are mode switching buttons on the remote control. Such as static color selection, gradient, flashing, beating and other mode switching keys.
4. Color adjustment:
To adjust the color, there are buttons on the remote control representing the three primary colors of red (R), green (G), and blue (B). By pressing these buttons individually or in combination, you can mix different color light effects.
5. Brightness adjustment:
There is usually a brightness adjustment key on the remote control. You can increase or decrease the brightness of the light by pressing the up or down arrow keys.
6. Scene preset:
If the RGB floodlight supports the scene preset function, there will be a preset mode button on the remote control, and you can switch to the preset color and effect combination with one click.
7. Automatic mode:
Some remote controls are equipped with an automatic cycle mode. Press the relevant button and the lamp will automatically change colors according to the preset program.
8. Connection verification:
When using or reconnecting for the first time, make sure that the remote control and the RGB floodlight are in the same frequency band or have been paired successfully. The signal emitted by the remote control can be received by the lamp and the command can be executed.
To learn the purpose of each function key and how to use it, carefully study the user manuals that are included with the light and remote control before using them. To guarantee that remote control signals are transmitted effectively, keep a clear straight line distance between the lamp and the remote control at all times


